Thursday, December 3, 2009
Tuesday, December 1, 2009
Thursday, November 5, 2009
Wednesday, August 5, 2009
proposed Lamp for bar
Tuesday, July 14, 2009
All done
Monday, June 22, 2009
Friday, June 19, 2009
Tuesday, June 2, 2009
Friday, May 22, 2009
Friday, May 15, 2009
Thursday, May 14, 2009
Wednesday, May 13, 2009
drawer mechanisms installed
Friday, May 8, 2009
Wednesday, May 6, 2009
Tuesday, May 5, 2009
Wednesday, April 22, 2009
Tuesday, April 21, 2009
Monday, April 20, 2009
Tuesday, April 14, 2009
hammered copper sink option
tested bar top cleaner
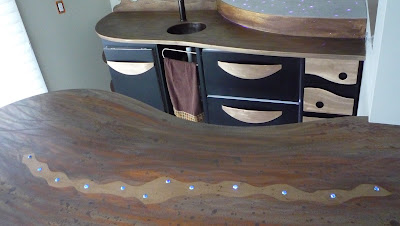
Tested Bar Keepers Helper on some finger stains I made on the bronze top. This product really works, keeping the bronze fresh looking will be easy.
Saturday, April 11, 2009
LED controller, remote and power supply

The PMRC Programmable Controller is an easy-to-use, powerful controller you can use with 4-wire Red-Green-Blue 12 volt DC ribbon flex or other LED’s. The controller unit has a program display, and the unit can be used to write your own program for your lights. Your program is stored as “mode 10,” and can be selected from the remote control.
We designed this controller based on requests from many customers who asked for a simple controller that would enable them to mix their own custom colors, and program hold and fade times. People also wanted to be able to dim or brighten their lights easily. They also asked for longer cycle times on the standard color changing programs (step and fade) than are available on other controllers. The PMRC achieves all of that.
• Easy to program up to 20 steps. Choose from 16 million colors. Set the hold time for each custom color. Set the fade time for the transition to the next step. Program automatically re-starts upon completion for seamless operation. Each of the 20 steps has 5 parameters:
1. Red value (0 to 255)
2. Green value (0 to 255)
3. Blue value (0 to 255)
4. Hold time (0 seconds to 2 hours)
5. Fade time to next step (0 seconds to 2 hours)
• Informative backlit LCD display tells you what’s going on in dark or light ambient conditions.
• Compact 4.1” x 2.4” x 1” controller is easy to mount using included Velcro.
• Even more compact 3.6" x 1.5" x 0.65" remote control (excluding 5.25" antenna) with slotted hole on back to hang it on the wall. Also can be secured with included Velcro.
• Radio frequency remote control works through walls. Over 100 foot range in benign electromagnetic environment.
• 7 static modes, 2 color-changing patterns and 1 user-programmable mode, selected by “MODE” button on remote control.
• Speed control buttons "S+" and "S-" on remote control.
• Brightness control buttons "B+" and "B-" on remote control.
• ON/OFF button. Unit powers up in the mode it was set on when you turned it off, which is convenient.
Friday, April 10, 2009
Wednesday, April 8, 2009
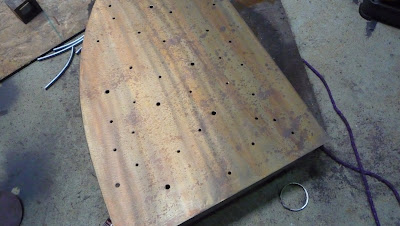
The First of many rounds of sanding
Subscribe to:
Comments (Atom)


